Automate your Shopify and QuickBooks workflows using Zoho Flow
- Last Updated : August 28, 2026
- 1.9K Views
- 6 Min Read
Key takeaways:
- Shopify and QuickBooks don't sync by default, leaving your team to manually copy order details, customer records, and refund information between the two apps.
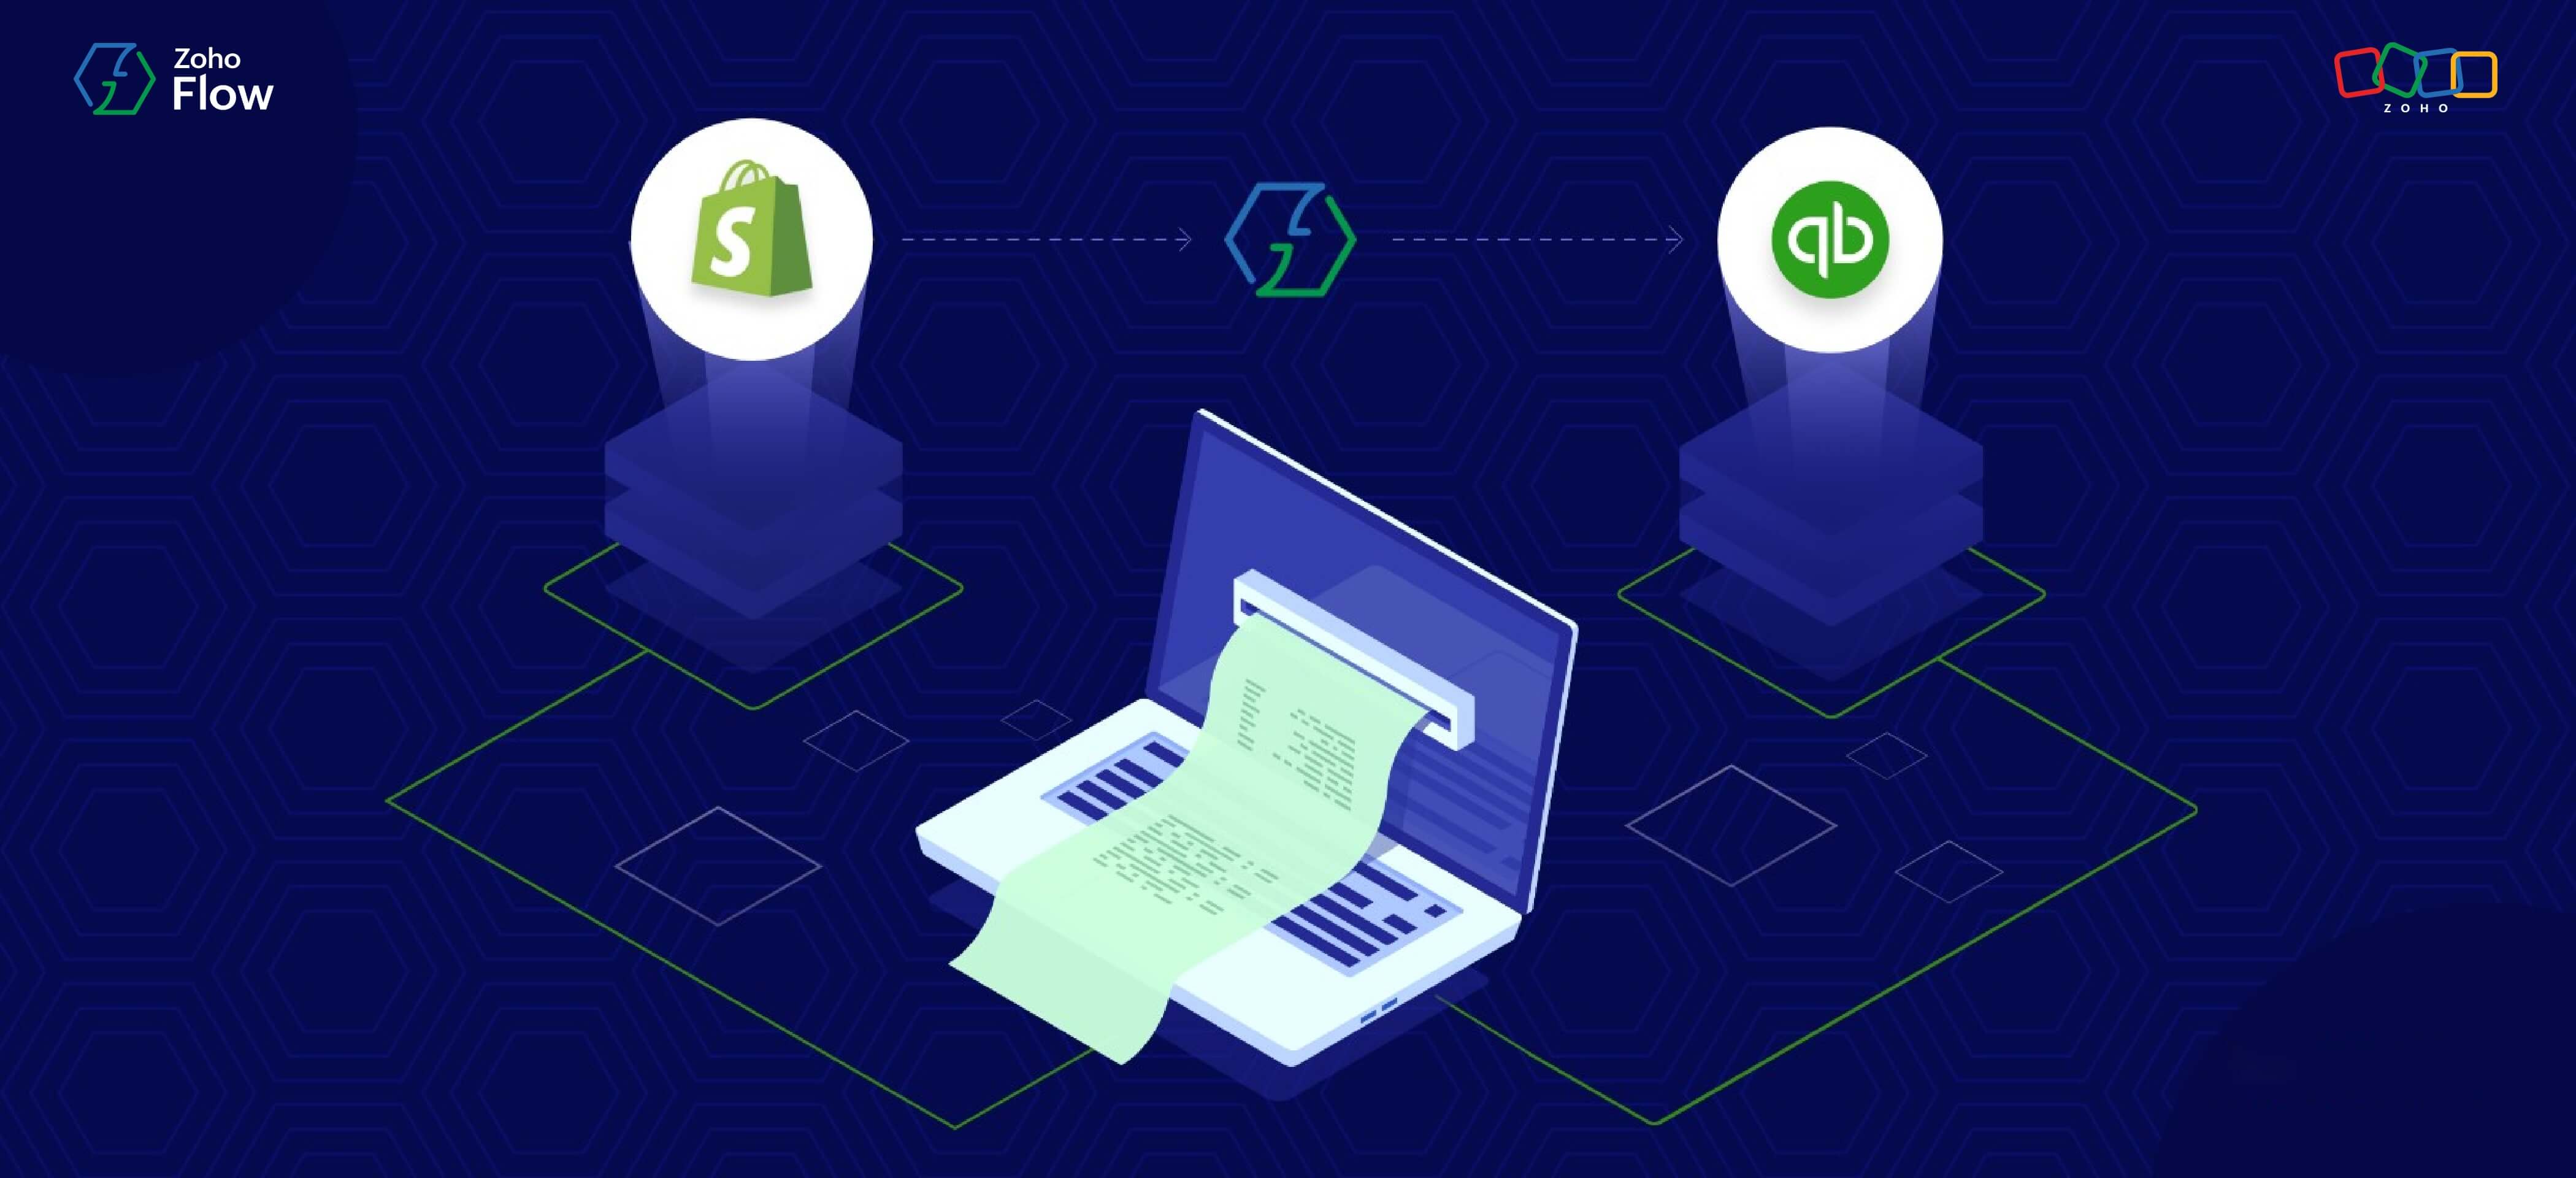
- With Zoho Flow, you can connect Shopify and QuickBooks and automate the work between them, from creating invoices to recording refunds, without any manual effort.
- When a new customer places an order on Shopify, Zoho Flow automatically adds or updates their details in QuickBooks, keeping your records accurate.
Selling products online and growing a successful business has never been easier. You just need the right people and the right tools to manage it efficiently. Cloud applications like Shopify have made it easy to set up a store website, manage its SEO and marketing, take care of orders and payments, and more.
However, many businesses also rely on QuickBooks to handle the financial side: generating invoices, recording payments, managing customer accounts, and keeping their books accurate. The problem is that Shopify and QuickBooks don't talk to each other by default. That means your team ends up manually copying order details, customer information, and payment records between the two apps, work that takes time and introduces errors.
Integrating Shopify with QuickBooks using Zoho Flow removes that manual work entirely. When a new order comes in on Shopify, Zoho Flow can automatically create the invoice in QuickBooks, add the customer to your records, send the invoice directly to the buyer, and a lot more.
In this guide, you'll find useful workflows you can automate between Shopify and QuickBooks, along with step-by-step instructions to set them up in Zoho Flow.
Common Shopify and QuickBooks workflows
There are several ways to connect Shopify and QuickBooks using Zoho Flow, depending on what your team needs to automate. Here are some of the most common workflows to get you started.
Automatically create and send invoices in QuickBooks for new Shopify orders
Every time a customer places an order on Shopify, someone on your team has to open QuickBooks, enter the order details, create an invoice, and send it to the customer manually. With Zoho Flow, when a new order is created in Shopify, an invoice is automatically generated in QuickBooks with all the relevant order details mapped across. It is then sent directly to the customer's email address from the Shopify order.

Add new Shopify customers to QuickBooks immediately
When a new customer places an order on Shopify, Zoho Flow checks if they already exist in QuickBooks. If they don't, it creates a new customer record automatically. If they do, it updates their existing details. Your customer list in QuickBooks stays accurate without anyone having to enter or update it manually.
Get a summary of every payment received in QuickBooks on Zoho Cliq
When a payment is received in QuickBooks, Zoho Flow triggers Zia to summarize the payment details and sends a brief to your finance team's channel in Zoho Cliq. Instead of your team logging in to QuickBooks to check payment status, the information comes to them automatically with context.
Create a credit memo in QuickBooks when a Shopify order is refunded
When a customer returns an order on Shopify, that refund needs to be recorded in QuickBooks to keep your records accurate. Using Zoho Flow, when a refund is created in Shopify, a credit memo is automatically generated in QuickBooks.

How to integrate Shopify and QuickBooks using Zoho Flow
Building a flow is similar to building a real workflow for a team. In this case, you'd start by tracking new orders placed on Shopify. Then you check if the customer already exists in your QuickBooks records. If yes, you'll update their details. If not, you'll add them as a new entry. Once the customer details are in place, you create an invoice for the order and send it directly to the customer.
Now let's go ahead and replicate this workflow as a flow in Zoho Flow's builder:
Step 1: Create a new flow with a Shopify trigger
1. Log in to your Zoho Flow account.
2. Navigate to the My Flows section, then click Create Flow in the top right corner, or the + button on the left.
3. Enter the flow name and a description (optional), then click Create.
4. Click Configure in the App trigger box to configure an app (Shopify) as the trigger for your flow.

5. Select Shopify, then choose Order created as the trigger. Then click Next.
6. If you have an existing Shopify connection in Zoho Flow, select it. Otherwise, click Connect to create a new connection.

7. Follow the instructions to fill in the required fields, then click Authorize.
Step 2: Add actions to create or update customers in QuickBooks
1. On the left section of the builder, under Apps, search for QuickBooks.
2. Drag and drop the Fetch customer by name or email address action into the builder.

3. Map the email address retrieved from the trigger to the Email address field in the action. Then, click Done.
This will fetch the details of the customer associated with the email address provided as the input.

4. On the left section of the builder, navigate to Logic, then under Flow Control, drag and drop Decision to the builder.
5. Choose Customer ID from the set of fields coming under Fetch customer by name or email address as the first field, and set the condition as is null. This condition will check if the customer ID exists or not.

6. Then, at the right side of the decision, attach the Create customer action (QuickBooks).
Configure the action by mapping the required variables from the trigger to the respective fields, then click Done.
Step 3: Create invoice in QuickBooks
Once the customer details are added, we need to create an invoice for the order.
1. Drag and drop the Create invoice action into the builder. Ensure that you attach this action to both Create customer and Update customer actions, so that the invoice is created for both scenarios.

2. Similar to the previous actions, configure the various fields of the invoice by mapping the required variables.
3. Then, click Done.
Step 4: Test the flow and switch it on
1. Click Test and Debug at the top-right of the builder to check for any possible errors. You can create a test order to see if the input and output values of the actions are displayed correctly as you intended.
2. Once everything looks fine, switch the flow on.

These are just some of the many popular workflows involving Shopify and QuickBooks. You can also manage other workflows in lead management, email marketing, inventory management, and many more using Zoho Flow.
Being an app integration platform with support for over 1,000+ apps, the possibilities are endless. Sign up for free and start automating your Shopify and QuickBooks workflows today. If you need help with setting up flows, or would like to know more about how Zoho Flow can help you grow your business by automating repetitive tasks, feel free to contact us at support@zohoflow.com.
Related reading:
- 8 workflow automation ideas that teams commonly implement
- 8 ways to automate Shopify with other applications using Zoho Flow
- 7 useful Zoho Books integrations for small and medium-sized businesses
- How to automatically add your WooCommerce customers in Zoho Books
Frequently asked questions
1. Can I try Zoho Flow before purchasing a plan?
Yes. Zoho Flow offers a 15-day free trial where you can build and test workflows before subscribing to a paid plan.
2. What happens if a workflow step fails mid-run?
Zoho Flow catches errors automatically and notifies you when something goes wrong, along with details on which step failed and why. You don't need to set up error handling manually.
3. Do I need coding knowledge to set up these workflows?
No. Zoho Flow uses a drag-and-drop builder where you connect triggers and actions visually. The step-by-step guide in this article walks you through the entire setup without writing a single line of code.
4. Will Zoho Flow create duplicate customer records in QuickBooks?
No. The customer workflow in Zoho Flow first checks if a customer already exists in QuickBooks using their email address. If they do, it updates their record. If they don't, it creates a new one. This prevents duplicates from being added every time a returning customer places an order.
5. Can I use Zoho Flow to connect multiple Shopify stores to the same QuickBooks account?
Yes. Zoho Flow lets you create separate connections for each Shopify store and route data from all of them into a single QuickBooks account. This is useful if you run more than one storefront but want to manage all your invoices, customer records, and refunds in one place.
The article was originally published on May 31, 2022, and last updated on August 28, 2026.
 Arjun
ArjunProduct Marketer at Zoho Flow: Passionately curious, with a love for thinking, writing, and exploring creative ways to connect people with science and technology.